
Mimicking the Medium Clap Animation with Sketch and Haiku

Kyle Gill, Software Engineer, Particl
- Software
Making Animation Approachable#
Being a wizened guru of CSS used to be a barrier for entry to designing complex motion animations. Libraries like Lottie by AirBnb came around to make things easier for mobile by rendering animations from Adobe After Effects on iOS, Android, and React Native.
Haiku is a hybrid code/design tool that aims to make motion animation simpler. It lets you import Sketch files that can then be animated on a timeline akin to that of After Effects. It’s free (for now) while it’s in preview, and like After Effects, is compatible with Lottie. You don’t have to use Lottie though, and I decided to test out its features by building a recreation of a simple, loveable animation: Medium’s clap.
 My doppleganger of a beloved classic
Haiku even lets you publish your package through the npm registry so you can install your animation into your file after initializing your project with the haiku init command (more on that later). Feel free to take a look at the embedded Haiku component on Codepen:
Go ahead, click it.
Where clapping is concerned, I’ve never been much for standing ovations. However, when Medium replaced their recommend heart with the clapping feature I found myself clapping post after post to kingdom come, sometimes clapping more for my own satisfaction than the actual content. The animation is delightfully satisfying, and one of the few carefully chosen visual elements Medium decides to include in the content section of blog posts, so what better animation to recreate?
Getting Started#
To make it happen, you need Sketch and Haiku installed.
If you open up a new Haiku you’ll be presented with a timeline on the bottom, a stage area in the top right, and a file tree on the top left:
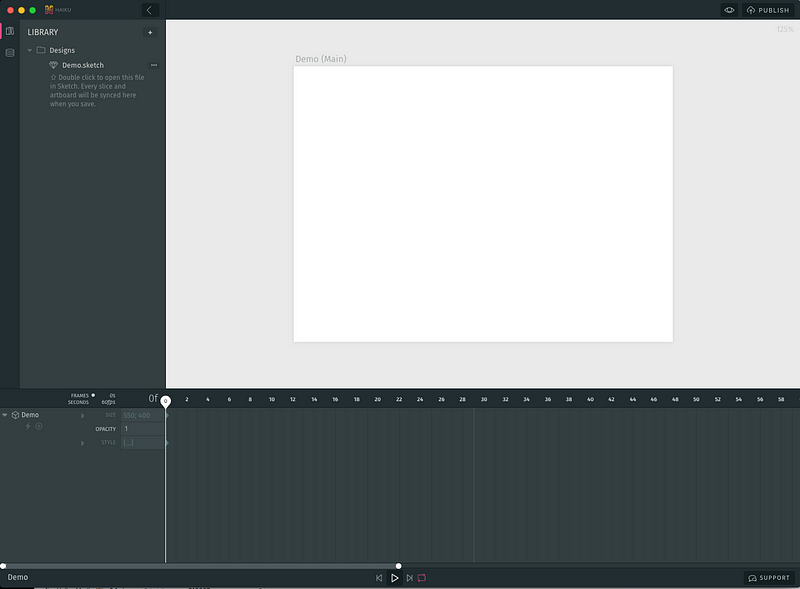 A canvas untainted by the world
In addition to the library view that is really just a file tree of your project, you can switch over to a State Inspector view where you can see what variables are stored that can be used in expressions on the timeline.
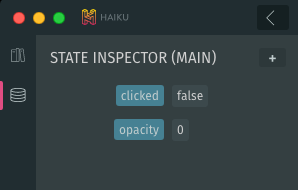 variables stored in state that can be used with actions or expressions on the timeline
If you switch back to the library view you can see that a new project generates a sketch file that you can double click to open taking you right to a little tutorial on how to start importing your assets from Sketch into Haiku.
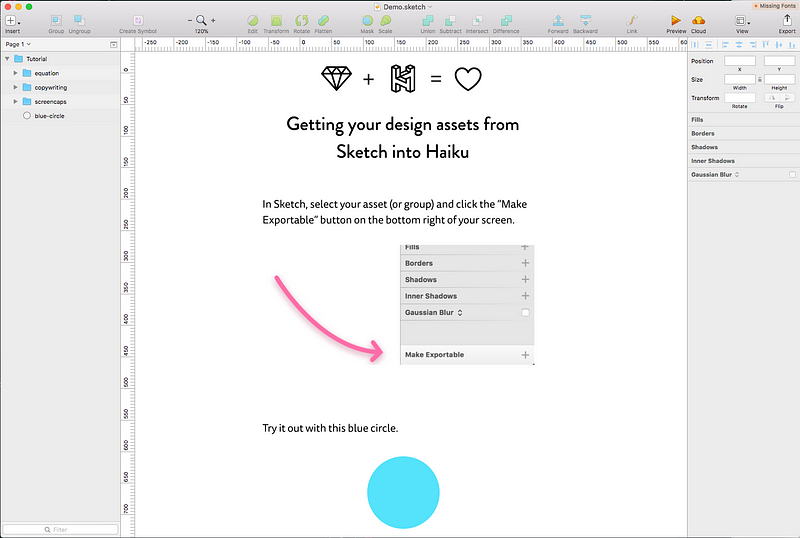 A canvas somewhat tainted
Draw with Sketch, Animate with Haiku#
I opened up a new page and drew a simple thumbs up shape with the vector tool in Sketch. I duplicated it to have as an outline color that would lay on top of my gray button.
 “2 enthusiastic thumbs up”
Reading through the docs I was looking for a way to manipulate the styles of my slices to programmatically fade the color of the icon from gray to blue within Haiku, but found few references to styling, and mostly references to issues of more importance like publishing projects and dealing with state (much like you would in a regular React application).
I drew up some confetti to go along with it and hit the “Make Exportable” button from within Sketch on each of the shapes I wanted included in my Haiku project.
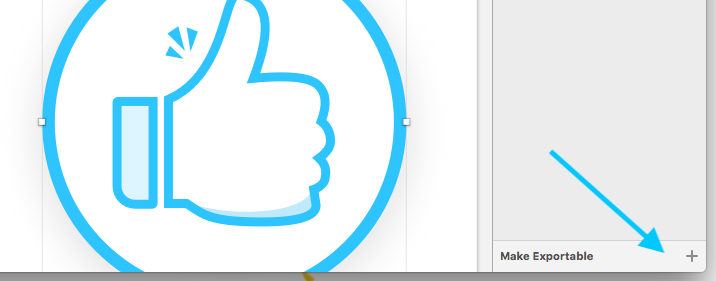 import Sketch assets by making them exportable and then saving
With all my Sketch assets inside Haiku, I dragged each onto the stage area to start building out my animation.
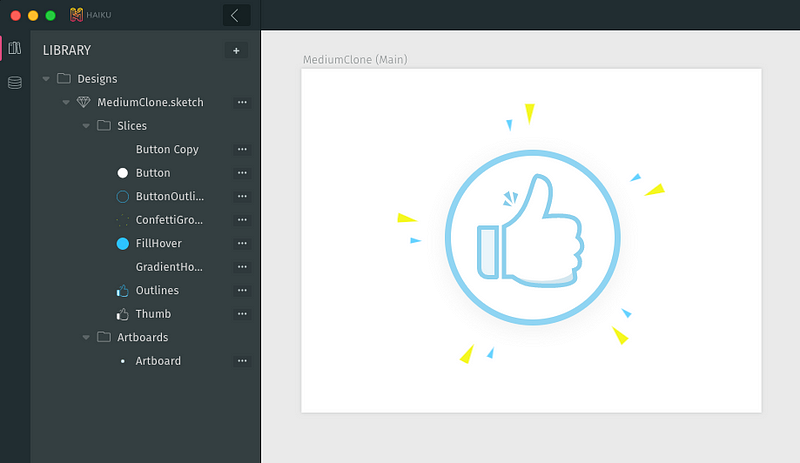 library view and stage
With all of the pieces in place, it was time to plot out how the animation would actually run.
Haiku allows you to set up 2 kinds of actions that trigger Javascript when fired, Event and Frame actions, and I needed both.
Event actions are tied to a specific object on the timeline and are configured by clicking on the little ⚡️ icon next to the object’s name in the timeline. They are essentially event listeners for common actions like click, mouse enter, form focus, with some additional ones like component lifecycle methods did mount, or will mount, that are triggered to move to a different point in the timeline or alter the project’s state.
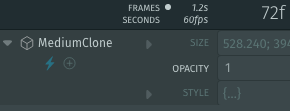 the blue lighting bolt denotes defined actions on this asset
Frame actions are naturally tied to a frame on the timeline, and fired when that frame is hit. These seem to be most effective for setting looped sections of an animation. I set up a frame action at frame 40 to have my animation stay in the first 40 frames of my timeline in a static state, resetting the timeline to time 0 each time it got to frame 40 like this:
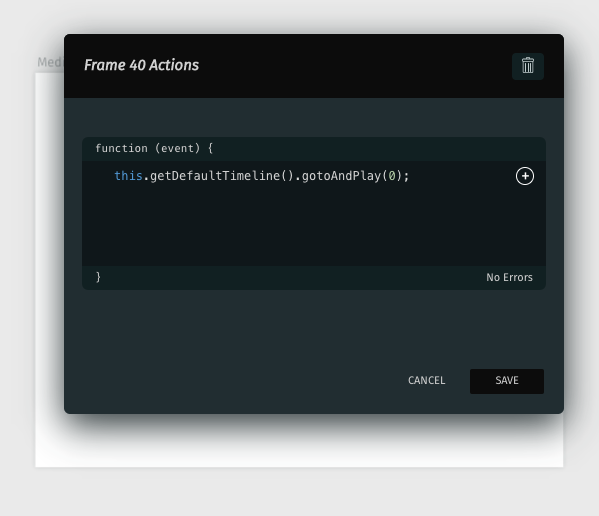
this.getDefaultTimeline() grabs the timeline object and then calls the method .gotoAndPlay() which sets the timeline to the number of milliseconds given in the argument, in my case 0. By doing this I can set up other keyframes further ahead on my timeline that won’t be triggered until I jump past frame 40 from the result of an action like a button click.
After creating 2 keyframes you can Right Click/Ctrl Click and choose Make Tween to set how the transition will take place between the keyframes. I set keyframes on the rest of the timeline to animate the opacity and scale of the button and the confetti in 3 different sections.
- Frames 0–40: no tweens, just my static gray button. A frame event on frame 40 jumps back to frame 0.
- Frames 41–60: tween increasing the opacity of the outline around the button. On a Mouse Enter event of my button, the timeline jumps to this point where it lights up the blue ring around the button and then pauses at frame 60, keeping the button blue. A Mouse Leave event jumps the timeline back to frame 0 resetting it back to gray.
- Frames 61–120: A button click event jumps to frame 61 where a tween activating all the blue outlines and confetti occurs, fading out slowly. A frame event at frame 120 jumps back to frame 0 and the whole cycle can repeat itself.
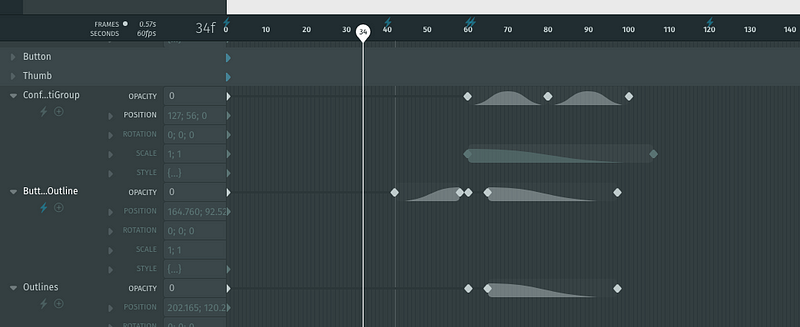 Confetti Group, Outline, and a conveniently truncated Butt Outline and their corresponding tweens
Finishing up#
You can preview your animation by hitting the eye icon in the top right of the application.
Important Note: actions will only run while in preview mode, hitting the spacebar and having the scrubber run through the timeline without being in preview will not fire event or frame actions.
Once I was satisfied with my animation, I hit the publish button and a new window opens up giving you a public share link and installation instructions for various different projects. These are the installation instructions I selected for including the animation inside of a React app.
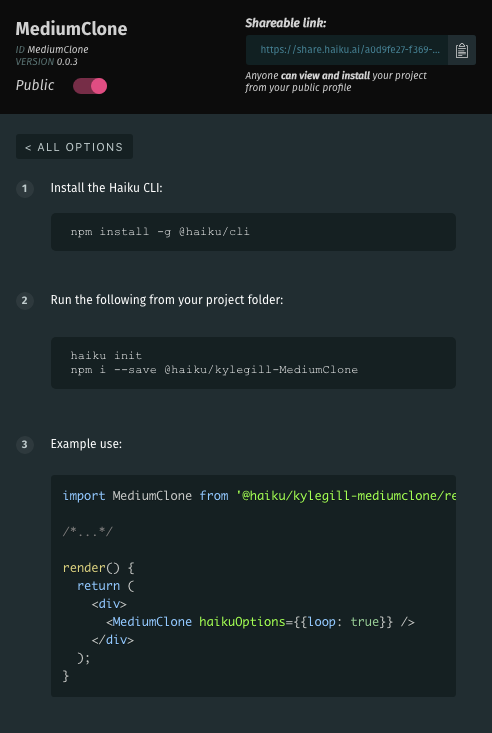
Now inside of a React project, you can run the commands:
To install the package with your animation like you would any other package!
Since I want mine in a React app, I can just include the component wherever I want after importing like this:
If you want to make changes to your animation later, you can go edit the Sketch files, which will update instantly inside of Haiku, then hit publish again, updating your animation on npm. Then it’s just a matter of running haiku update from your project and your changes will be reflected in your project.
If you want to see the code that’s generated by Haiku you can dive into the code folder in your Haiku project and tweak the raw Javascript.
So is it worth it?#
I felt the power of being able to convert my simple Sketch drawings into an animation in just a few hours, and there’s more to Haiku I didn’t even dive into yet. The whole project is still in preview and is thus still a work in progress, with some small features missing like dragging to select keyframes, or batch deleting of slices or artboards from the library view that will surely come in future updates.
Much like Sketch is to Illustrator, Haiku is pared down from After Effects to the simple tools you’d want to get designing for motion animations, and it’s much easier to pick up and get started on.
 Sketch + Haiku = 😍